
The Figma Prototype tools serve as core design assets for designers and developers who work in active design and user experience environments. The popularity of How to Zoom In On Figma Prototype comes from its great design capabilities combined with effective ways to work together. Scaling prototypes through Figma delivers core functionality that designers need. Simply resizing work elements improves your accuracy as part of your design process. We discuss in detail the function ofHow to Zoom In On Figma Prototype by examining its purposes, application techniques, and optimal usage guidelines. See more informative blog
Table of Contents
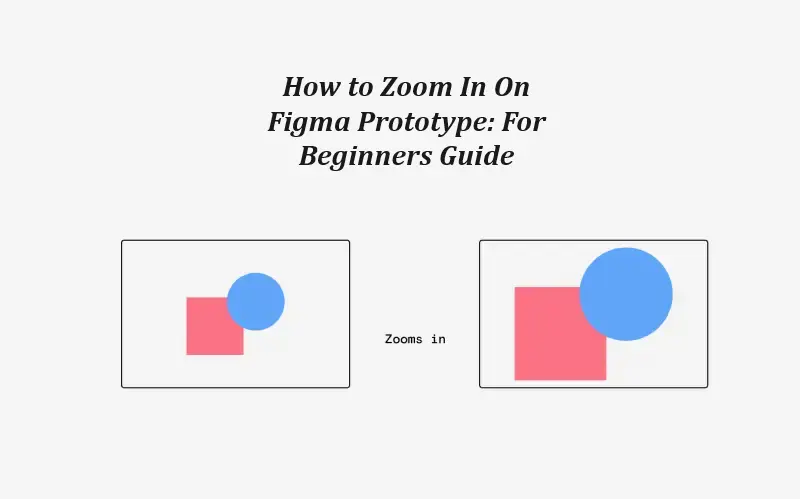
Explore Figma Prototypes With Our Zoom Functionality
Beyond basic magnification this tool shows hidden aspects that would otherwise remain invisible when working with Figma Prototypes. Several factors make zooming in essential: How to Zoom In On Figma Prototype
Accuracy and Intricacy: User interface design needs looking at all pixel components with great care. Zooming in lets you study exact design features to check all aspect details clearly. How to Zoom In On Figma Prototype
Improved Usability Testing: Through zooming you can check the behavior of small user interface components and features with better detail. Users perform product assessments because small details inside the product shape their overall experience during usability testing.
Accessibility Checks: Make sure users at all zoom levels can understand content and interact with elements effectively. You can evaluate small UI elements for accessibility features when you zoom in.
Component Inspection: Designers save time and resources by building modern designs from interchangeable components. Big views of your design components let you see how they work throughout your project project uniformly.
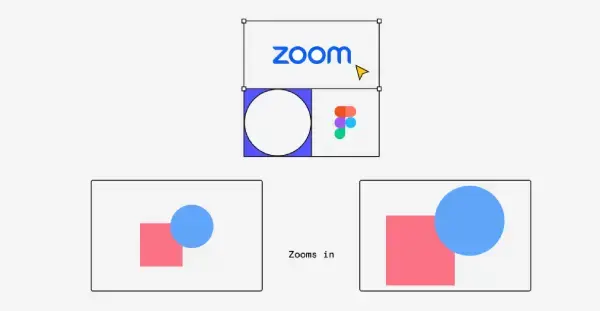
Multiple Options Exist to Expand Your Figma Prototypes Using Zoom Tools
Multiple Options Exist to Expand Your Figma Prototypes Using Zoom Tools. How to Zoom In On Figma Prototype
Figma supports various methods for growing your prototypes which offer distinct features. Learning these methods will help you design faster.
1) Mouse Movements
A straightforward method of Zoom In On Figma Prototype is by using mouse movements: How to Zoom In On Figma Prototype
Scroll Wheel: Press Cmd on Mac or Ctrl on Windows and use your mouse wheel to zoom in through upward scrolling. ZOOM OUT when you scroll down. How to Zoom In On Figma Prototype
Trackpad Pinch: Those with trackpads will find this basic pinch motion makes zooming easy. When you squeeze your fingers close together you zoom out while spreading them apart zooms in. How to Zoom In On Figma Prototype
These point-and-click actions work instantly to make step-by-step zoom changes.
2) Keyboard Shortcuts
Keyboard shortcuts offer a more controlled way to zoom:
Simply press Ctrl + + (Windows) or Cmd + + (Mac) for zooming in.
Simply press Cmd + – and Ctrl + – to reduce the zoom ratio on your computer.
To reset the zoom back to 100%, press Ctrl + 0 in Windows and Cmd + 0 in Mac systems.
Press Shift + 1 to display your design in the view window at its optimal size.
Keyboard shortcuts provide designers who work with physical keyboards real benefits through faster production and a smoother workflow.
3) Zoom Tool
To use the Figma zoom tool you have two options: either press the Z key or select it from the toolbar interface. The tool lets you highlight zones of interest so you can zoom in exactly to those precise sections. You can focus on exact portions of your design while knowing your details are precise.
4) Zoom Menu
Change zoom levels through the zoom selection that appears at Figma’s top right edge. You can adjust the zoom level precisely by entering any percentage or selecting from fixed options such as 100% using the zoom menu. Using this approach lets you control exact zoom percentages.
Best Practices for Using Zoom in Figma
To make the most of Figma zoom features, consider the following best practices:
1) Maintain Design Consistency
Regularly zoom out during your work to ensure all parts of your design maintain consistent quality. By stressing each detail too much designers often miss the main design context.
2) Utilize Grids and Guides
Figma grids and guides aid your work especially during detailed zoomed-in views. They support you in creating even spacing layouts while making sure all design components match correctly. Before changing your zoom level switch between grid and guide settings to check spacing and alignment.
3) Inspect Accessibility
To evaluate accessibility effectively you need to test how interactive elements and text look at maximum sizes. Check that your interface buttons scale properly to maintain easy understanding for all users across various skill backgrounds. Testing element size and contrast works best when you use the accessibility testing features Figma provides.
4) Leverage Component Libraries
Zoom in to check that design components maintain their efficiency and visual appeal at every size you use them. This method keeps all elements of your prototype visually cohesive and professional.
5) Regularly Review with Stakeholders
Your stakeholders can better understand design process effort when you show them zoomed-in views. When designers review their work often they can find issues which previously went unnoticed in the early design phase.
Conclusion
One useful element that improves accuracy, usability, and overall design quality of Zoom In On Figma Prototype is the ability to zoom in. Designers may make sure their prototypes are comprehensive, approachable, and well-executed by learning the different zoom approaches and putting best practices into practice. Increasing design productivity comes from smoothly switching between magnified views of small UI elements and general component details. How to Zoom In On Figma Prototype
To thrive in advancing user experience design with Figma’s ongoing evolution designers must learn these zoom capabilities. Figma prototype designs benefit from detailed inspection so zoom in next time you develop smaller elements. How to Zoom In On Figma Prototype
Faq: Advanced Techniques for Zoom in Figma
Figma has a number of tools and plugins for more experienced users that improve the zoom capabilities and general creation process.
1) Using Figma Plugins
You can set up automation for design focus with plugins Zoom to Selection and Zoom to Layer to save time. The Figma Plugin directory lets you find plugins and adjust them to work in your specific design methods.
2) Creating Zoomed-in Mockups
Zoomed-up close visuals of individual design items prove useful during the creation process. To make zoomed-in mockups you should duplicate a frame and resize its components. During presentations and tests we can better illustrate features and interactions by using these mockups.
3) Zoom While Prototyping
Test your dynamic UI elements and motion effects at different zoom levels throughout your interactive prototype development process. Use the zoom feature to validate your design. The system keeps all elements properly positioned and allows for natural interaction adjustments as users change the viewing scale.