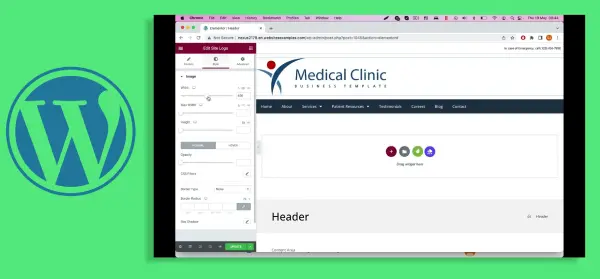
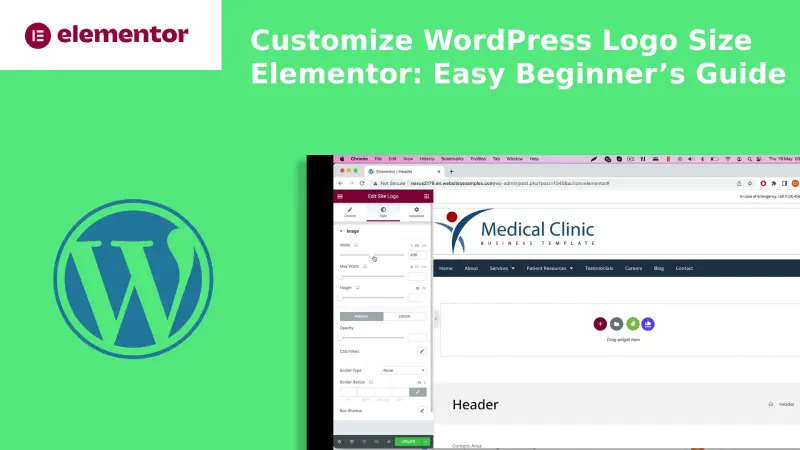
Today our agency willl be seen how to change WordPress Logo Size Elementor. WordPress has become a popular platform for website creation Because of its functionality and wide selection of plugins that increase its capabilities. Elementor is a drag-and-drop page builder that is quite popular among WordPress logo size elementor users since it allows for significant customisation without requiring the knowledge of programming. Of all the customisations you may do, changing the size of the logo is an often requested feature. This blog will guide you through the process of using WordPress logo size elementor to customise the size of the logo in WordPress. See more blog
Table of Contents
Why Would You Want to Alter Your Logo Size on WordPress Elementor?
Before diving into the technical steps, it’s important to understand why you might want to customize your WordPress Logo Size Elementor:
Branding Consistency: Your brand stays true to itself when you set the right logo size to work for all display types.
User Experience: Dealing logos right fits the screen to build a tidy brand experience for the user.
Mobile Optimization: Mobile device users make up a large part of website visits. Showing your logo properly on mobile platforms requires top priority.
Performance: Having large logo designs makes the webpage load slower. Adjusting the size enables better website performance.
How to Change WordPress Logo?
Adjusting WordPress logo size elementor requires considering multiple factors to show your logo well on all screen types for a professional website experience. Here’s a guide to help you determine the optimal size for your WordPress logo:
1. Using Theme Customizer:
Visit Appearance then Customize in your WordPress admin panel.
Check Out the Header and Site Identity Area.
Add and resize your logo by editing the document width and height settings available in your theme.
2. Using Custom CSS:
When your theme lacks size change options for logos use custom CSS instead.
Click Appearance then Customize then Additional CSS in your dashboard.
Add the following CSS and adjust the values as needed: CSS Copy code
.site-logo {
width: 250px; /* Adjust to your desired width */
height: auto; /* Contain aspect ratio */ }
Theme-Specific Options:
Each theme has its own settings menu for WordPress logo size elementor control.
Visit the settings panel inside the WordPress dashboard for theme documentation about additional settings.
Getting Started with Elementor Pro
Elementor is a powerful tool that offers extensive design options, but you’ll need the Elementor Pro version to unlock all features, including the Theme Builder, which allows for advanced customization like WordPress logo size elementor adjustment.
Step 1: Install and Activate Elementor Pro
Installation:
You go to WordPress Dashboard and navigate to also Plugins > Add New.
Search for “Elementor”.
Click Install Now and then Activate.
Elementor Pro Activation:
Purchase Elementor Pro from the official Elementor website.
Download your Elementor Pro plugin file from Elementor website.
Go to WordPress Dashboard, navigate to Plugins > Add New > Upload Plugin.
Place the Elementor Pro plugin file into your WordPress dashboard and follow the install and activate sequence.

Step 2: Access the Theme Builder
Go to WordPress dashboard then click Elementor > Theme Builder.
Select the Header tab because that’s where you’ll find the logo.
Step 3: Editing the Header
a) Create a New Header:
Use the Add New button to create your new header template.
Start your design project from either a ready-made template or a fresh page.
b) Add the Logo:
You can add a Site Logo widget to your header layout by pulling it from the Elementor panel.
The default logo Elementor uses is the one you set up in WordPress Customizer.
You can adjust your logo dimensions through Elementor tools.
Once you’ve added WordPress logo size elementor to the header next step is to adjust its size settings.
Method 1: Adjust your design with Elementor
a) Select the Logo Widget:
Click on the Site Logo widget box to start working.
b) Adjust the Size:
Inside your Elementor panel on the left switch to the style tab.
In the Width option area you can use the slider to resize your logo. You can precisely control the size by entering numbers in pixels percentage or preferred units.
c) Responsive Adjustments:
Through Elementor you can customize the logo size for desktop computers as well as mobile devices.
Select your preferred device mode (Desktop, Tablet, Mobile) through the icons at the Elementor panel bottom.
Change the logo size for every screen type to show the layout perfectly on all devices.
Method 2: Custom CSS
When built-in settings are insufficient you can use custom CSS to achieve complete control over your design.
a) Add Custom CSS:
Move to the Advanced tab in the Elementor panel when you select the Site Logo widget.
Custom CSS settings await you in Elementor Pro under the scrolling menu.
b) Insert CSS Code:
Add the following CSS code to adjust the WordPress logo size elementor size: .elementor-widge
.custom-logo-class {
width: 150px; /* Adjust the width as needed */
height: auto; /* Contain aspect ratio */ }
Put the actual class name of your WordPress logo size elementor element instead of custom-logo-class.
c) Assign a CSS Class to your Logo:
Add a custom class into your logo widget. example “custom-logo-class”
Help You Customize WordPress Logo Size using Elementor!
| Step | Action | Details |
|---|---|---|
| 1. Open Elementor Editor | Reach Appearance under Customize and select Site Identity from the menu. | The site default logo is established here. |
| 2. Edit Header Template | You should access your header template using Elementor. | Elementor Theme Builder offers a solution to modify headers that cannot be accessed through regular pages. |
| 3. Select Logo Widget | Click on the logo image in the header section. | Users should add the Image widget and upload your logo when there is no existing company logo. |
| 4. Adjust Logo Size | Users should modify the Image Size drop-down menu setting from the Content Tab. | Users must pick one from predefined dimensions or manually input dimensions they want. |
| 5. Use Style Tab | Select the Style Tab option in the Image widget. | The resizing process becomes possible through adjustments made on the Adjust Width, Max Width and Height sliders. |
| 6. Responsive Customization | Users can activate Responsive Mode through the tablet/mobile icon located at the bottom of the screen. | Set customized dimensions of your logo for each desktop and tablet and mobile device platform. |
| 7. Custom CSS (Optional) | Access the Custom CSS option under Advanced Tab by using the Pro feature. | Use CSS like max-width: 150px; for fine-tuned control. |
| 8. Save & Publish | The system will implement your modifications after you click Update. | Check that the logo adjusts well for different screens. |
✅ Pro Tips:
SVG logos should be used to maintain sharpness across all devices. WordPress Logo Size Elementor
Mobile tests for logo dimensions will help you avoid size-related complications.
The Elementor Pro Theme Builder lets users control their header and logo elements across the entire site through global functions.
Return to the Style section of the Site Logo widget.
Under Advanced settings you should add a new CSS class called custom-logo-class.
Finalizing and Publishing
1. Preview Your Changes:
You can see how your logo looks across devices with one click of the Preview button.
Make sure your logo fits both your brand standards and functions correctly on all screen sizes.
2. Publish the Header:
Once you are happy with the logo size press the Publish button.
You will receive an interface to define where this element should display. The header appears across your entire website or selected specific pages depending on your choice.
3. Save and Exit:
When done click the Save button to exit Elementor.
You can access these further guidelines for your logo creation
1. Optimize Your Logo Image:
Images optimization tools reduce your logo file size without compromising visual quality. The optimization improves web page speed.
2. Use SVG Format:
The SVG format delivers the best results when you need a sharp logo that scales well. Elementor accepts SVG file format so you can display crisp logos accurately on any device screen size.
3. Brand Guidelines:
Stick to design standards when placing your logo on the page. Maintaining a steady approach keeps your brand identity powerful and reliable.
4. Retina Ready:
Optimize your logo design to perform well on HD visual displays. Switch to a logo image with better resolution then use CSS max-width to manage its appearance size.
Troubleshooting Common Issues
1. Logo Not Resizing:
Review theme customizer settings to prevent size restrictions on Elementor adjustments.
Make sure other plugins and custom CSS do not interfere with this setup.
2. Blurry Logo:
Upload a clearer image or design your logo in SVG format.
Check the logo image size to match retina display quality standards.
3. Mobile Display Issues:
Make sure you have the right Elementor responsive settings set up correctly.
Customize CSS for mobile phones when required.
Conclusion
You can easily beautify your website with Elementor by modifying your WordPress logo size elementor. The Elementor design tools help you display your logo the right way for every screen type. When Renaming Your WordPress Logo Size In Elementor you should mix size adjustments with fits your user performance design. Thanks to this guide you should have all the tools needed to create a professional business website.
You can design stunning tailored websites without code through Elementor regardless of your WordPress experience level. Test different logo size possibilities to find the best option for your business needs. Have fun creating!

